
Installing PEX Plumbing: A Step-by-Step Guide,PEX (cross-linked polyethylene) plumbing systems have gained popularity in recent years for their flexibility, cost-effectiveness, and ease of installation. If you’re considering a DIY plumbing project or just want to learn more about how PEX works, this step-by-step guide will walk you through the process of installing a basic PEX plumbing system.IFAN factory 30+ years manufacture experience support color/size customization support free sample.Welcome to consult for catalog and free samples.This is our FacebookWebsite: www.facebook.com.
Tools and Materials You’ll Need
Before you start, make sure you have the following tools and materials on hand:
Tools:
PEX Tubing Cutter: This specialized cutter will help you make clean, straight cuts in the PEX tubing.
PEX Crimping Tool: You’ll need this tool to secure the PEX fittings to the tubing.
Measuring Tape: For accurate measurements.
Marker: To mark the PEX tubing where cuts and connections need to be made.
Adjustable Wrench: For tightening PEX connections.
Deburring Tool: To remove any sharp edges or burrs from the cut tubing.
Safety Glasses: Always wear eye protection when cutting or working with PEX.
Materials:
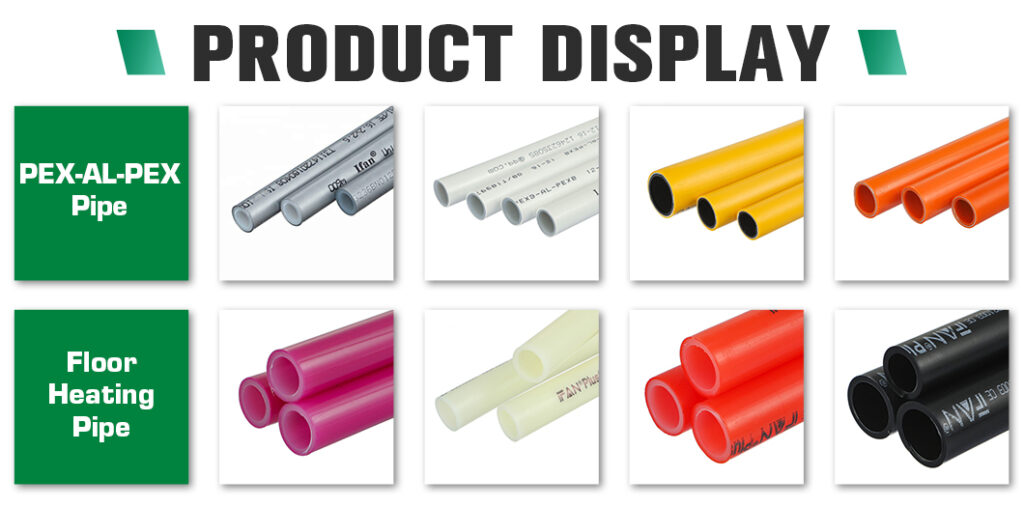
PEX Tubing: Select the appropriate PEX tubing for your project. PEX comes in different sizes and colors for hot and cold water lines.
PEX Fittings: These fittings include tees, elbows, and connectors to route and connect your PEX tubing.
PEX Clamps or Rings: These are used to secure the PEX fittings to the tubing. You’ll need the appropriate size and type for your system.
Shut-Off Valves: These are essential for controlling the water supply to different areas or fixtures.
Manifolds (Optional): If you’re installing a complex plumbing system, manifolds can help distribute water to various fixtures efficiently.
Support Brackets: These secure the PEX tubing to walls, floors, or other surfaces.
Steps to Install PEX Plumbing
Now, let’s get into the installation process:
1. Turn Off the Water Supply:
Before you begin, turn off the main water supply to your home. It’s crucial to work on a dry system.
2. Plan Your Plumbing Layout:
Determine where you want to install your PEX plumbing. Make a detailed plan, including measurements and a list of all the necessary fittings.
3. Cut the PEX Tubing:
Use the PEX tubing cutter to make clean, straight cuts at the locations marked on your tubing. Always measure twice and cut once.
4. Attach Fittings:
Slide PEX clamps or rings onto the tubing, followed by the appropriate PEX fittings. Use the crimping tool to secure the connection. Ensure the connection is tight and leak-free.
5. Install Shut-Off Valves:
If you’re branching off to supply water to specific fixtures, install shut-off valves to control the flow.
6. Support the Tubing:
Secure the PEX tubing to walls or surfaces using support brackets. This prevents the tubing from sagging and helps maintain a neat and organized installation.
7. Pressure Test:
Once your system is in place, turn on the main water supply and check for any leaks. It’s a good practice to perform a pressure test to ensure your installation is watertight.
8. Finalize Your Installation:
Once you’re satisfied with the results of your pressure test, you can finalize the installation by connecting the PEX tubing to the fixtures or appliances.
PEX plumbing systems can be an excellent DIY project if you have some plumbing knowledge and the right tools. However, if you’re uncertain about any aspect of the installation, it’s always a good idea to consult with a professional plumber to ensure your system is safe and up to code.