
PPR (polypropylene random copolymer) pipes are among the most popular plumbing materials in the construction industry. Their high impact and abrasion resistance, low thermal conductivity, easy installation, and long-lasting durability make them an ideal choice for hot and cold water applications. However, connecting PPR pipes can be a daunting task for many people, especially those who are not familiar with plumbing. In this guide, we will explain how to connect PPR pipes with ease and efficiency. IFAN factory 30+ years manufacture experience support color /size customization support free sample.Welcome to consult for catalog and free samples.This is our Facebook Website:www.facebook.com
Select the Right Tools and Materials
Before connecting PPR pipes, you need to have the right tools and materials. Here is a list of the tools and materials you will need:
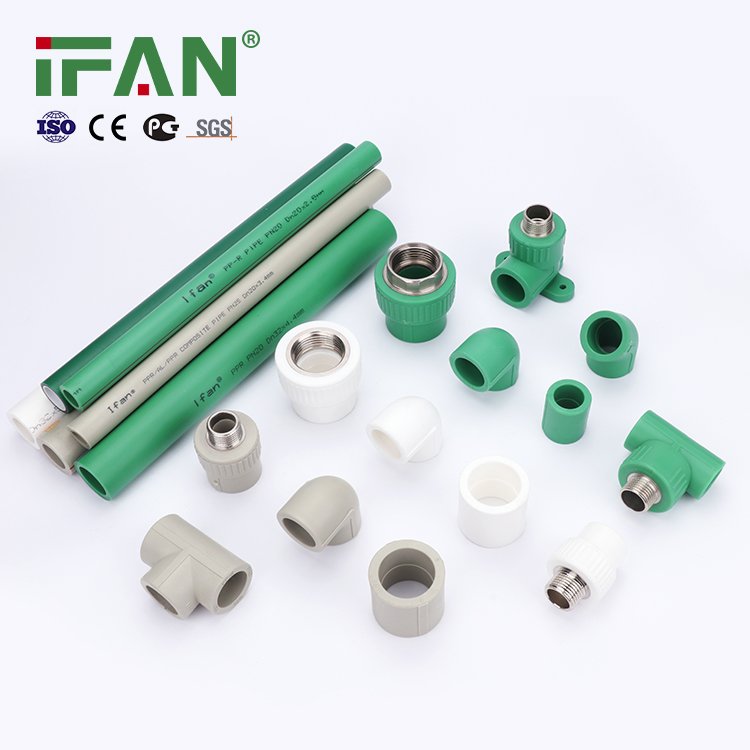
- PPR pipes: These pipes come in different sizes and lengths. Make sure you choose the right size and length for your project.
- Clamps: To hold the pipes in place during the joining process.
- PPR fittings: These are specially designed fittings that allow you to connect PPR pipes together.
- PPR welding machine: To weld the pipes and fittings together.
- Scissors or pipe cutters: To cut the pipes to the desired length.
- Measuring tape: To measure the length of the pipes.
- Cleaning cloth: You need a cleaning cloth to clean the pipes and fittings before welding them together.
Prepare PPR Pipes and Fittings
Once you have the right tools and materials, the next step is to prepare the pipes and fittings for joining. Here are the steps to follow:
- Cut the pipes to the desired length: Use scissors or pipe cutters to cut the pipes to the desired length. Make sure the ends of the pipes are clean and even.
- Clean the pipes and fittings: Use a cleaning cloth to clean the ends of the pipes and the fittings. This will ensure that there is no dirt, dust or debris that can interfere with the welding process.
- Mark the pipe insertion depth: Use a measuring tape to mark the pipe insertion depth on each end of the pipe. This will ensure that the pipes are inserted to the correct depth inside the fittings.
Join PPR Pipes and Fittings
With the pipes and fittings prepared, you are now ready to join them together. Here are the steps to follow:
- Insert the pipe into the fitting: Insert the pipe into the fitting until it reaches the marked depth. Make sure the pipe is inserted straight into the fitting.
- Clamp the pipe and fitting together: Use clamps to hold the pipe and fitting together. This will ensure that the pipe and fitting do not move during the welding process.
- Weld the pipe and fitting together: Use a PPR welding machine to weld the pipe and fitting together. Make sure you follow the manufacturer’s instructions for the welding process. The welding machine will heat the pipe and fitting and melt the materials together, creating a strong bond between them.
- Hold the joint in place: Hold the joint in place for a few seconds after welding to allow the materials to cool and solidify.
- Repeat the process: Repeat the process for each joint until all the pipes and fittings are connected.
Conclusion
Connecting PPR pipes may seem like a daunting task, but with the right tools and materials, it can be a simple process. Follow the steps outlined in this guide to ensure that your PPR pipes are safely and efficiently connected. Remember to take safety precautions during the welding process and follow the manufacturer’s instructions for the welding machine. With proper care and maintenance, your PPR pipes will last for many years and provide you with a reliable plumbing system.