
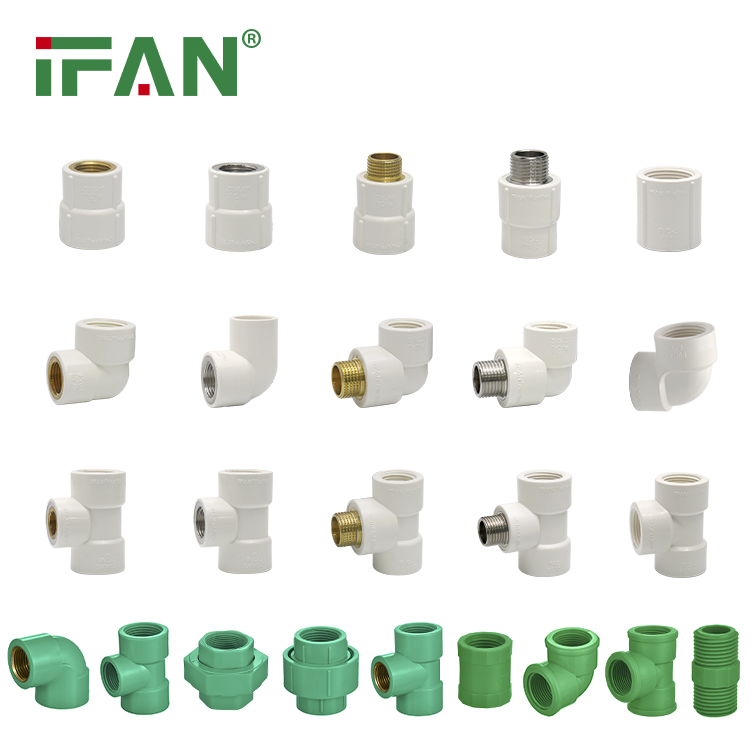
UPVC (Unplasticized Polyvinyl Chloride) tees are essential fittings in plumbing systems, allowing for branching connections and directing the flow of fluids. Proper installation of green UPVC tees is crucial for ensuring efficient and leak-free plumbing installations. If you’re a DIY enthusiast looking to install UPVC tees in your plumbing system, here are some tips to help you get started:
IFAN factory 30+ years manufacture experience support color/size customization support free sample.Welcome to consult for catalog and free samples.This is our Facebook Website: www.facebook.com
1. Plan Your Installation
Before beginning the installation process, carefully plan the layout of your plumbing system and determine the locations where UPVC tees will be installed. Consider factors such as pipe size, fluid flow direction, and accessibility. Having a clear plan in place will help streamline the installation process and ensure that the tees are positioned correctly.
2. Use the Right Tools and Materials
Ensure that you have the necessary tools and materials on hand for installing UPVC tees. This may include a saw for cutting pipes to size, a deburring tool to remove rough edges, and solvent cement for bonding the tees to the pipes. Use high-quality UPVC tees that are compatible with your piping system and meet industry standards for performance and durability.
3. Prepare the Pipes
Before installing UPVC tees, prepare the pipes by cutting them to the required lengths and removing any burrs or rough edges. Clean the pipe ends thoroughly to ensure proper adhesion with the solvent cement. It’s essential to make precise cuts and maintain square pipe ends for a secure fit with the tees.
4. Apply Solvent Cement Correctly
Apply solvent cement to both the pipe ends and the sockets of the UPVC tees according to the manufacturer’s instructions. Ensure that the surfaces are clean and dry before applying the cement. Insert the pipe ends into the sockets of the tees, making sure to achieve a snug fit. Hold the joints firmly in place for a few seconds to allow the solvent cement to set.
5. Test for Leaks
Once the solvent cement has cured, test the UPVC tee connections for leaks by running water through the plumbing system. Check for any signs of leakage around the joints and make any necessary adjustments or repairs if leaks are detected. Properly installed UPVC tees should provide leak-free connections and reliable performance in your plumbing system.
Conclusion
By following these tips for installing green UPVC tees, DIY enthusiasts can ensure successful and leak-free plumbing installations. Proper planning, use of the right tools and materials, careful preparation of pipes, correct application of solvent cement, and thorough testing for leaks are key steps in achieving efficient and reliable connections with UPVC tees. With attention to detail and adherence to best practices, DIY enthusiasts can tackle UPVC tee installations with confidence.